
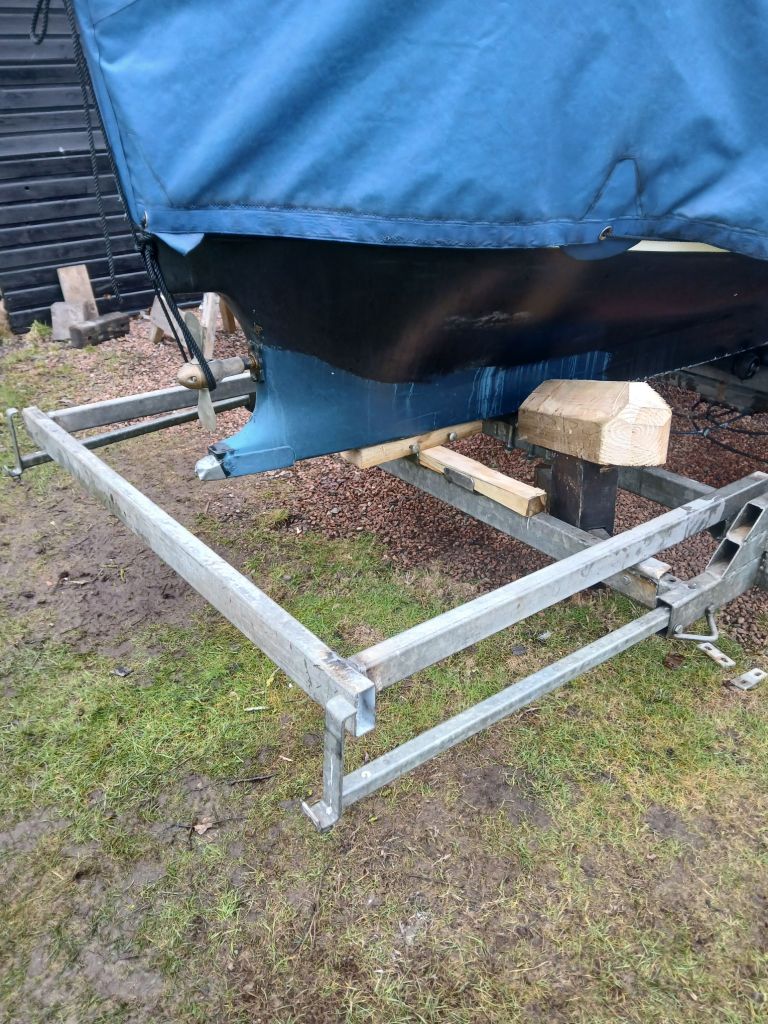
Moving Tarka up to her summertime home at Glasson Sailing Club later this week so last minute preparations for the trailer. I have to glue up the wooden vee guide and install. Then install the removable cross member and add wedges under the stern. And now I have a new challenge, to make a rear bumper to protect the stern during transit.
I was told a story this last weekend by a friend who built his own boat, a lovely wooden yawl, but had once been trailing the boat when his trailer was rear ended by a car being driven by some day dreamer, resulting in the boat being pushed hard onto the winch post and damaging the bow. This has given me a new worry now that since I’ve placed the stern overhanging the trailer it does now seem vulnerable to a collision from the rear.
To finish my trailer mods I’m using the remaining pieces of the old vee guide to try and make a removable bumper. This will be bolted to the frame with U bolts and sit just behind the light board. Like the removable support bar this is really only needed during transit to provide some protection against rear impact.
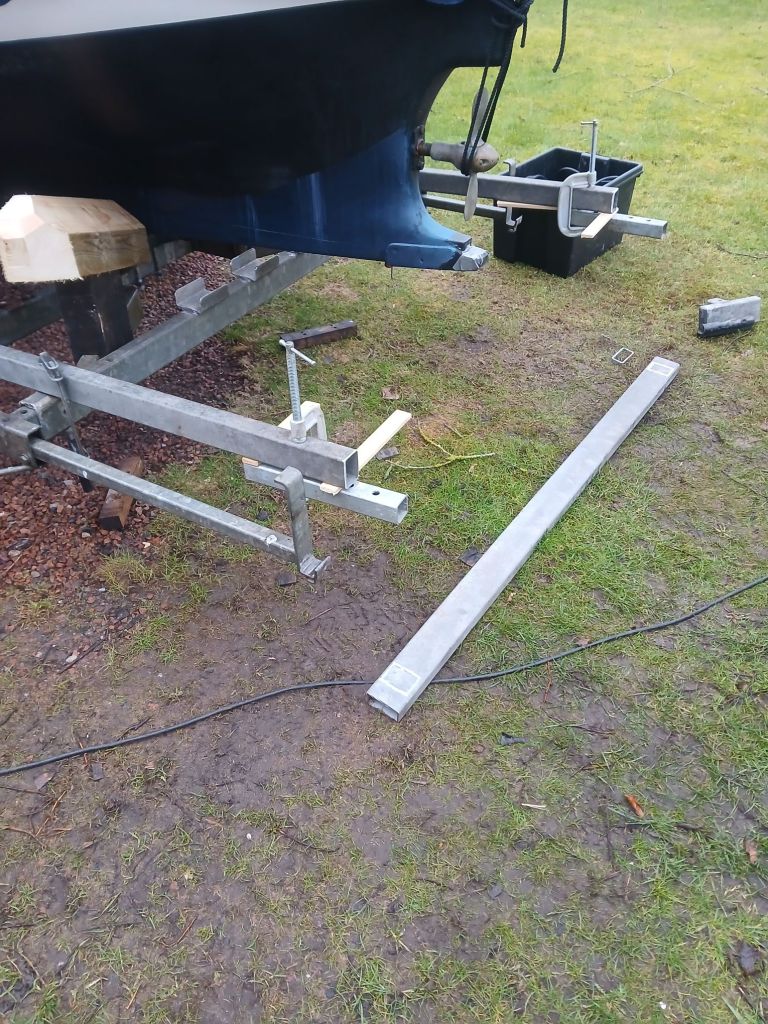
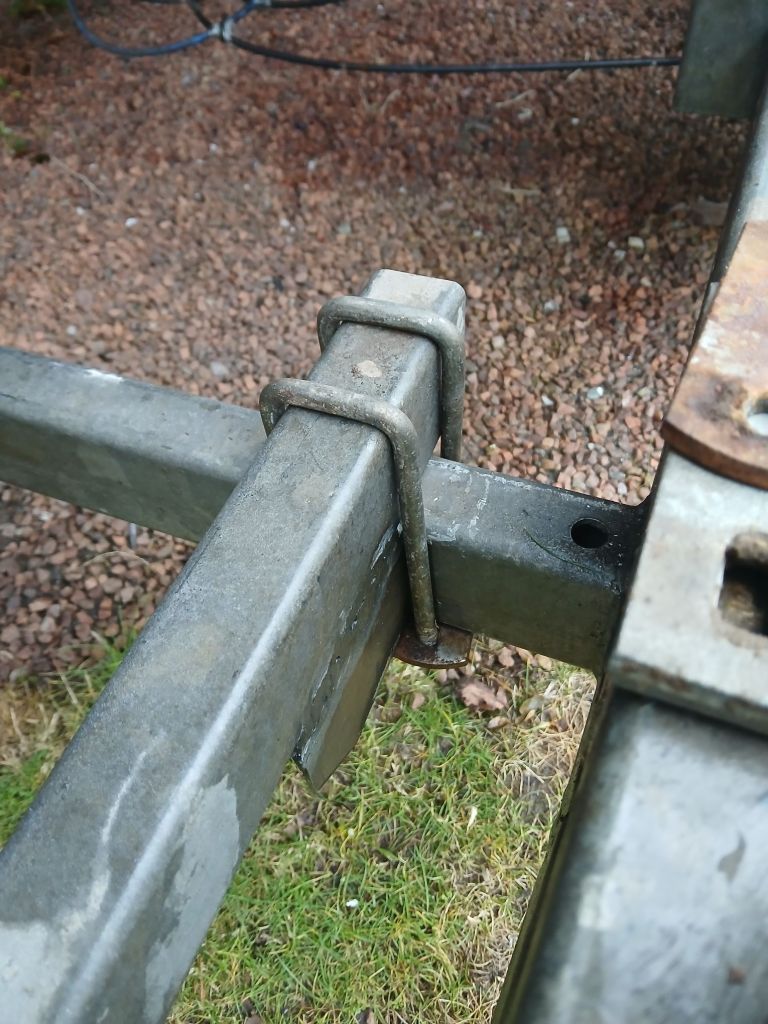
The side arms are long enough to be clamped across the last two support members with U bolts and extend out beyond the stern. The cross member is narrower than the support brackets for the light board.
It occurred to me that this bumper could also carry the light board but that idea didn’t last long. The bumper has one job to do, and any additional job might be a compromise. Having the light board sit on its own dedicated brackets will allow the board to sit quite a bit further back than the bumper, providing a little extra safety margin.
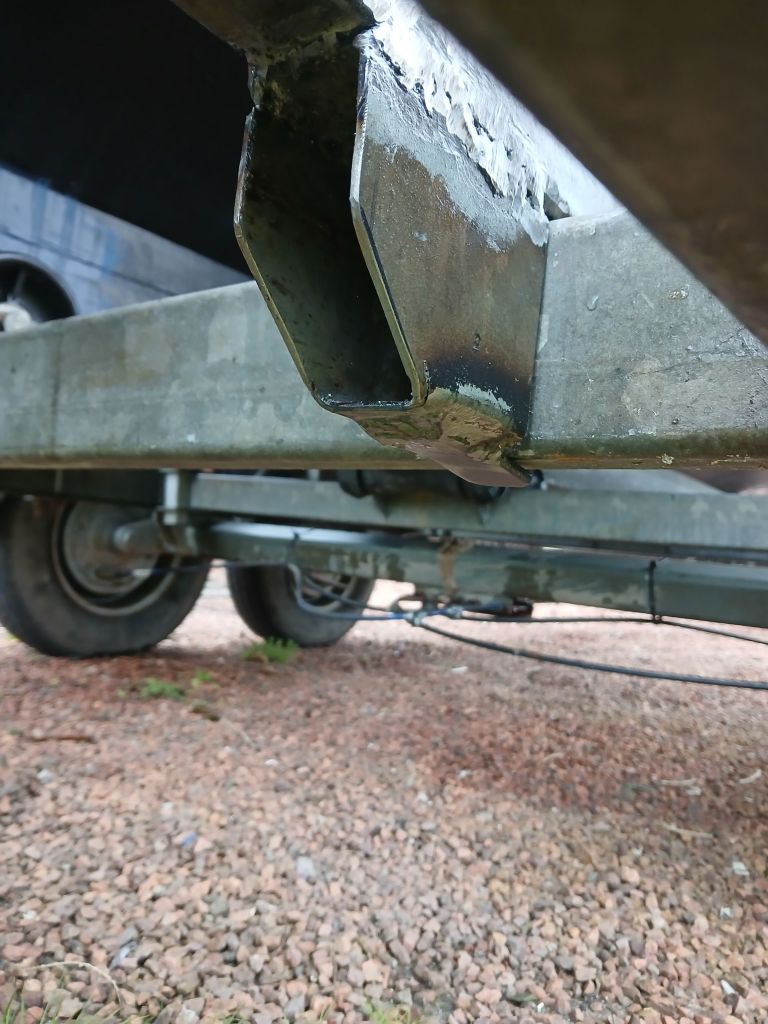
I was planning on adding diagonal brace across the corners with some left over metal, but it turned out my stock was larger section that the side members so it’s not so straight forward. I’ll have to postpone this and press on with fitting everything together as is.
Waiting for delivery of some extra long U bolts to finish the bumper.

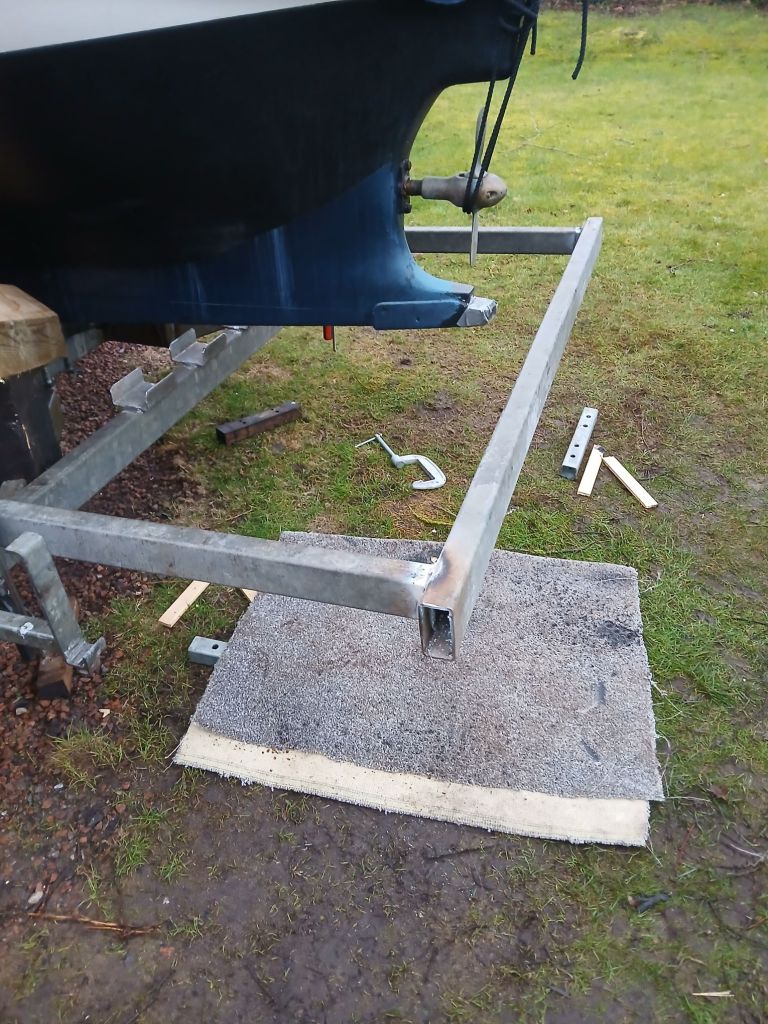
Added a stop on each side with a small flange as a helper when setting up. This is so the bumper can be put in place and let go while the u bolts are fitted to speed up installation time.
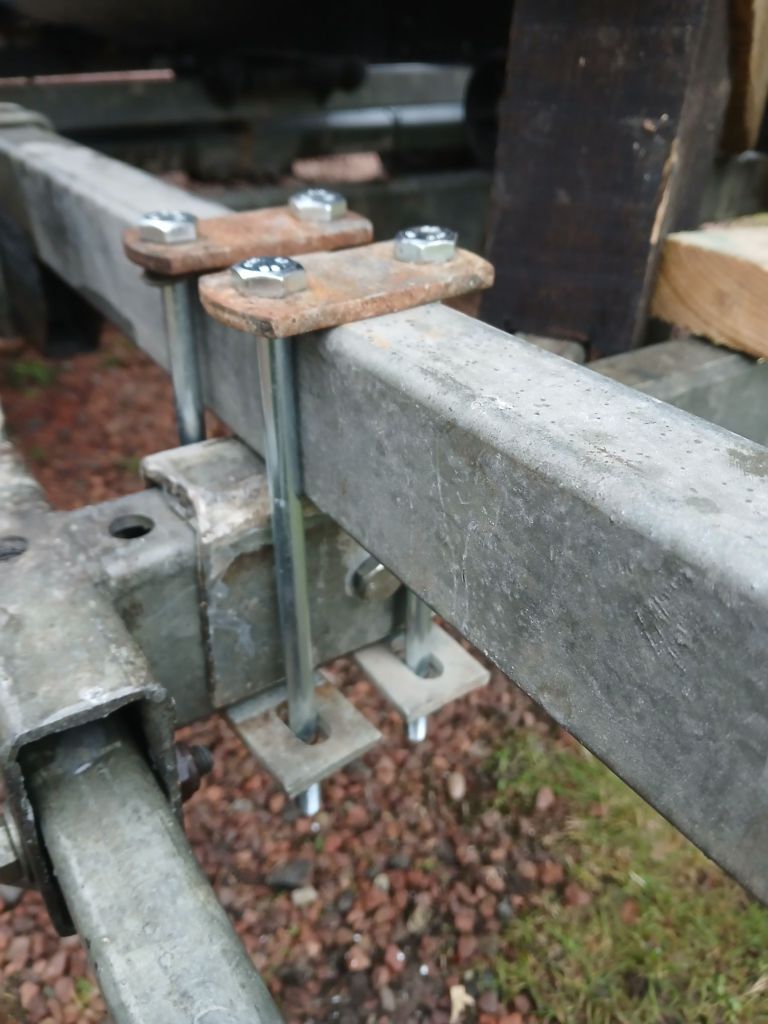
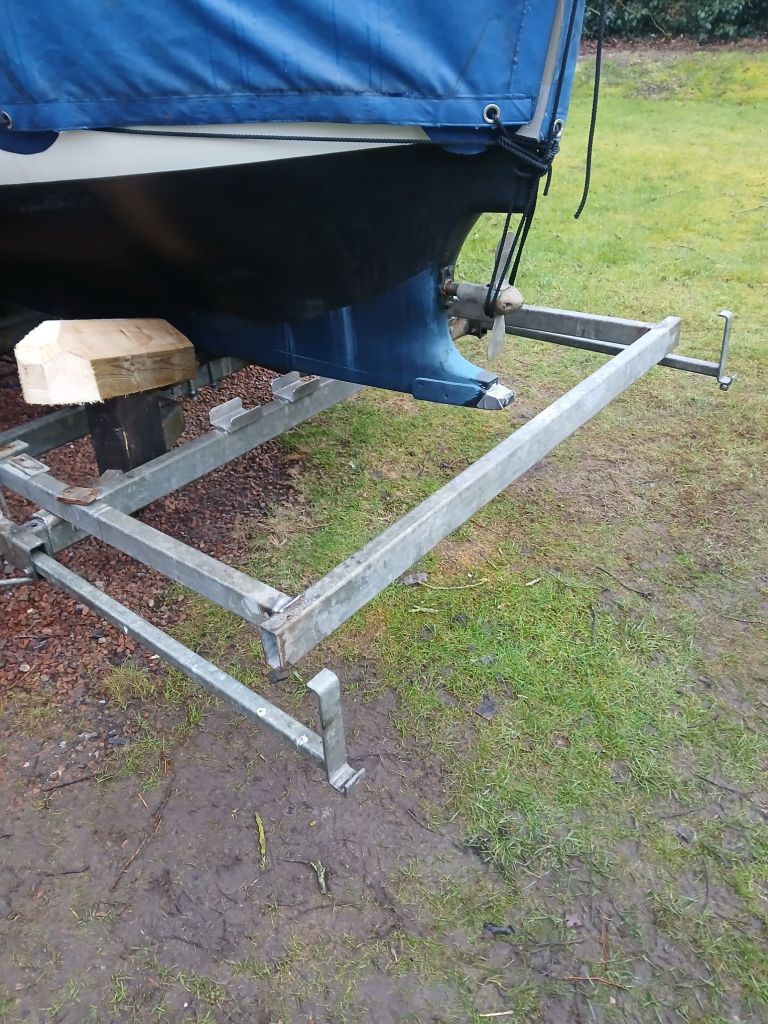
I’m still waiting for some new 8″ U bolts so in the meantime I’ve fitted with 8″ bolts and plates.
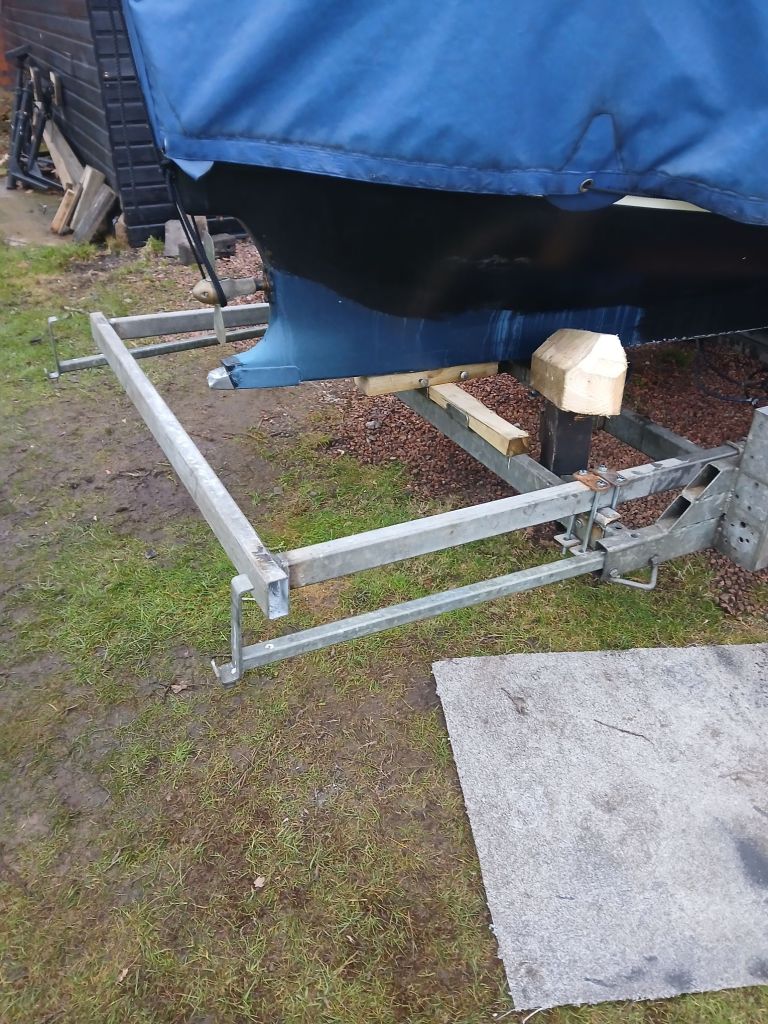
The completed removable bumper pending new U bolts to finish the job. Next job fitting the rear support and wedges and we’re ready to go.
